Podcasting for newbies with no time and no budget
by Iván Peña, Co-Founder | Software Engineer
Updated on January 9, 2026 · 7 min read
Why start podcasting now?
Coach: “Iván, you need to build your brand so people know about your products.”
Iván: “My brand? What is that? And how do I do that?”
Coach: “You need to expose yourself, create quality content on social media, start a podcast, dance on TikTok…”
Iván: “Right… Let’s start with podcasting before I lose even more of my dignity in public.”
So yeah, Giorgio and I started our own podcast a few weeks ago to begin building Sealambda’s brand.
The goal of this blog post isn’t to teach you how to create a podcast professionally and make a living from it, but rather how to find shortcuts to create a podcast as a newbie with no time and no budget. So, if you’re a professional podcaster with hater tendencies, stop reading here 😉
Step 1: Do you have a mic?
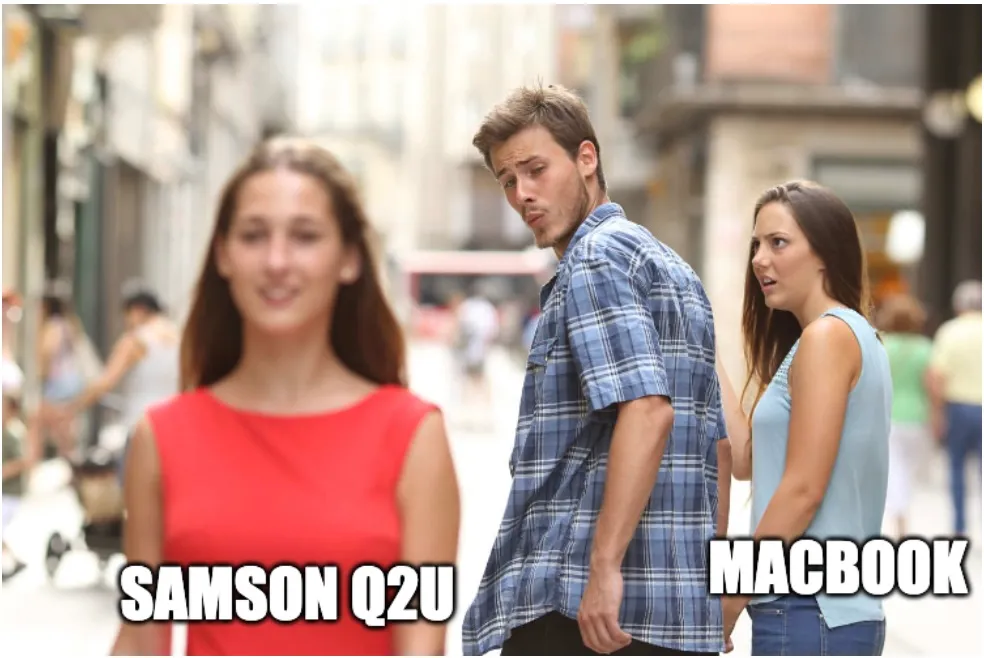
As a first step, I had to buy a brand-new microphone because, of course, you don’t want to use your laptop’s microphone to record a podcast, right? Well, to be honest, I really considered it for a while. Luckily, I didn’t.
From all the options I researched, and with some help from Reddit, I chose the Samson Q2U as the best option for quality and price.

Giorgio went a bit wilder and bought a Marantz Pro Pod Pack 1. To be fair, he bought it during Black Friday.
The difference between the two is that the Samson Q2U is a dynamic mic, ideal for loud sounds, while the Marantz Pro Pod Pack 1 is a condenser mic, more sensitive and great for capturing clear, detailed sounds in a studio. You can judge the results for yourself!
Step 2: What are you going to talk about?
The second step to becoming a podcaster is actually thinking about the topic you want to discuss. Maybe choosing a name too, but Giorgio and I didn’t do this until the second episode, so I guess it’s just a nice-to-have. 🙂
Luckily for us, we already had a blog, so we could just talk about the same things we would write about—a sort of entrepreneurial diary, but weekly. A… weekliary???

Step 3: Download the right tools
Once you have your cool new mic, your theme, and hopefully a name, it’s time to choose the right tools to record your podcast. The most common tool for that is Audacity. Unfortunately, Giorgio and I work remotely from different corners of Switzerland with the Swiss Alps between us, and Audacity doesn’t support remote recording over the Internet. So, we had to look for another option.
After some research, we decided to go with SonoBus, which supports remote recording. You just need to create a group, have all participants join, and press record.
Later, we realized we could have done it directly with Audacity by recording locally on both laptops simultaneously and using a clap to sync the audio. This approach would improve the quality of your tracks, as no internet transmission is involved, and you can easily synchronize them afterward with a simple technique using just your hands.
Anyway, we’ll stick to the two-tool solution in case you want to try a remote recording software too.
Step 4: Start recording
Now you’re ready to start recording! If you decide to use SonoBus, remember to create a group by clicking the “Connect” button and setting a group name and password so other participants can join. If it works well, you should be able to hear each other.
Additionally, click on the “Settings” button in the top left, go to “Recording,” and check at least the options “Yourself” and “Each Connected User”. This will create separate audio track files for each participant, which you’ll use in Audacity for editing.
Now you’re ready to record! Click the record button and stay silent for at least 10 seconds. This will be useful later during editing. If you’re just using Audacity and everyone is recording on their end, ask them all to clap once to help with audio synchronization.
Step 5: Not there yet—now it’s editing time
Now that you have your first recording, let’s start editing.
-
In SonoBus, locate the audio track files generated by the software.
-
Import the files into Audacity.
-
If you used clapping, align the spikes produced by each clap in each track to synchronize the rest of the audio.
-
For all the following steps, we’ll use the predefined settings provided by Audacity, so I won’t include screenshots to keep the post more readable (it’s better to add memes). If you’d like us to add them, contact us!
-
Reduce background noise:
- For each track individually, select the 10 seconds of silence.
- Click “Effect” > “Noise Removal and Repair” > “Noise Reduction” and then “Get Noise Profile.”
- Select the entire track, open the same menu again, and click “OK.”
- Once the process is finished, you can proceed to remove the initial silence.
-
Normalize the waveforms for consistency: “Effect” > “Volume and Compression” > “Normalize.”
-
Run the noise gate first to remove low-volume noise: “Effect” > “Noise Removal and Repair” > “Noise Gate.”
-
Run the compressor to amplify the audio: “Effect” > “Volume and Compression” > “Compressor.”
-
Normalize the loudness to match podcast platform standards: “Effect” > “Volume and Compression” > “Loudness Normalization.”
Platforms like Spotify adjust loudness normalization (or LUFS) to -14dB, while Apple Podcasts targets -16dB. You can find a more detailed comparison here.
If you’re interested in how to add background music, either at the beginning or end of the podcast, let us know so we can write another blog post about it.
Step 6: Now it’s time to listen
If your podcast is around 20 minutes long, lucky you! Ours is about an hour, so reviewing it takes at least two hours of our lives every week. I usually multitask by cleaning my apartment while listening—feel free to do the same.

Depending on how raw you want to go, you might need to remove some filler words like “Um…” and “Like…” or long silences. Here are your options:
- Silence audio – If Giorgio and I start talking over each other (which, as Latins, we do a lot 🤌🏼), you can mute one track: “Edit” > “Remove Special” > “Silence Audio”.
- Trim audio – To remove filler words, select the part to delete in every track (to avoid desync) and press Backspace.
- Truncate silence – Automate silence removal: “Effect” > “Special” > “Truncate Silence”. We set it to shorten silences longer than 1 second to exactly 1 second. If your podcast is conversational like ours, a short break helps listeners process information. However, if your podcast is shorter, you might want to reduce the duration even further.
Once you’re happy with the edits, export the file: “File” > “Export Audio” and choose MP3. You might also want to save the Audacity project in the cloud. 😉
Last step: Distribution, distribution, distribution
Now you finally have your first podcast episode! To distribute it, create an account on Spotify for Creators.
Go to “Settings” > “About” and give your podcast a name (by now, you should have one—no way around it), a description, and cover art.
The cool thing about Spotify is that you can enable an RSS feed to distribute your podcast to other platforms like Apple Podcasts and Amazon Music. You’ll find this under “Settings” > “Availability”. We highly recommend enabling this to get your podcast on as many platforms as possible.
Finally, click “New episode,” upload your MP3 file, add a title, a description, and a publication date, and click “Publish”.
Congratulations, you’re officially a podcaster! 🎉🎉🎉
